Install FLUJO on your computer, then connect the AI and tools for a reusable Website Builder agent. Give it a site brief in chat and check the local result. Your browser is where you’ll work; FLUJO runs in the background.
01 · Choose an installation
Windows · Guided setup
Let the installer help.
The Windows setup wizard installs missing tools and builds FLUJO. It needs an internet connection and Windows App Installer (winget).
Use the intended release’s installer and read its notes. Current installer source pins versioned releases; some older installers follow the development branch.
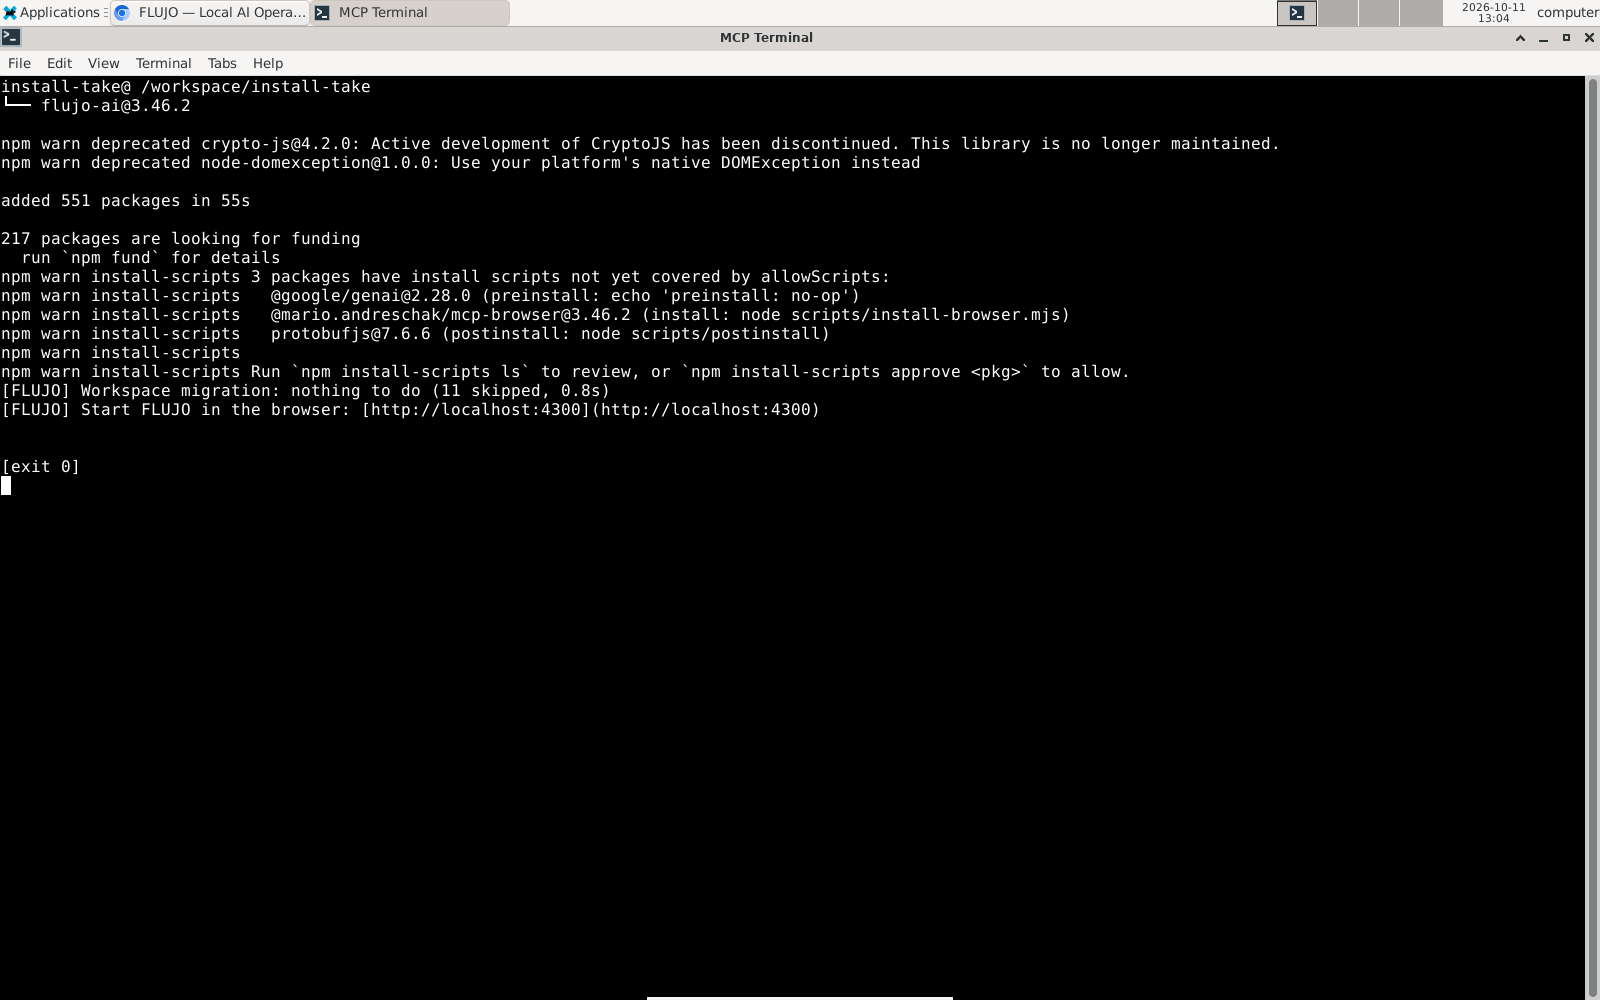
A separate clean-installation take checked the published npm package 3.46.2. It used port 4300 to keep the existing workshop session on 4200 available. The latest published version may differ when you follow the command above.
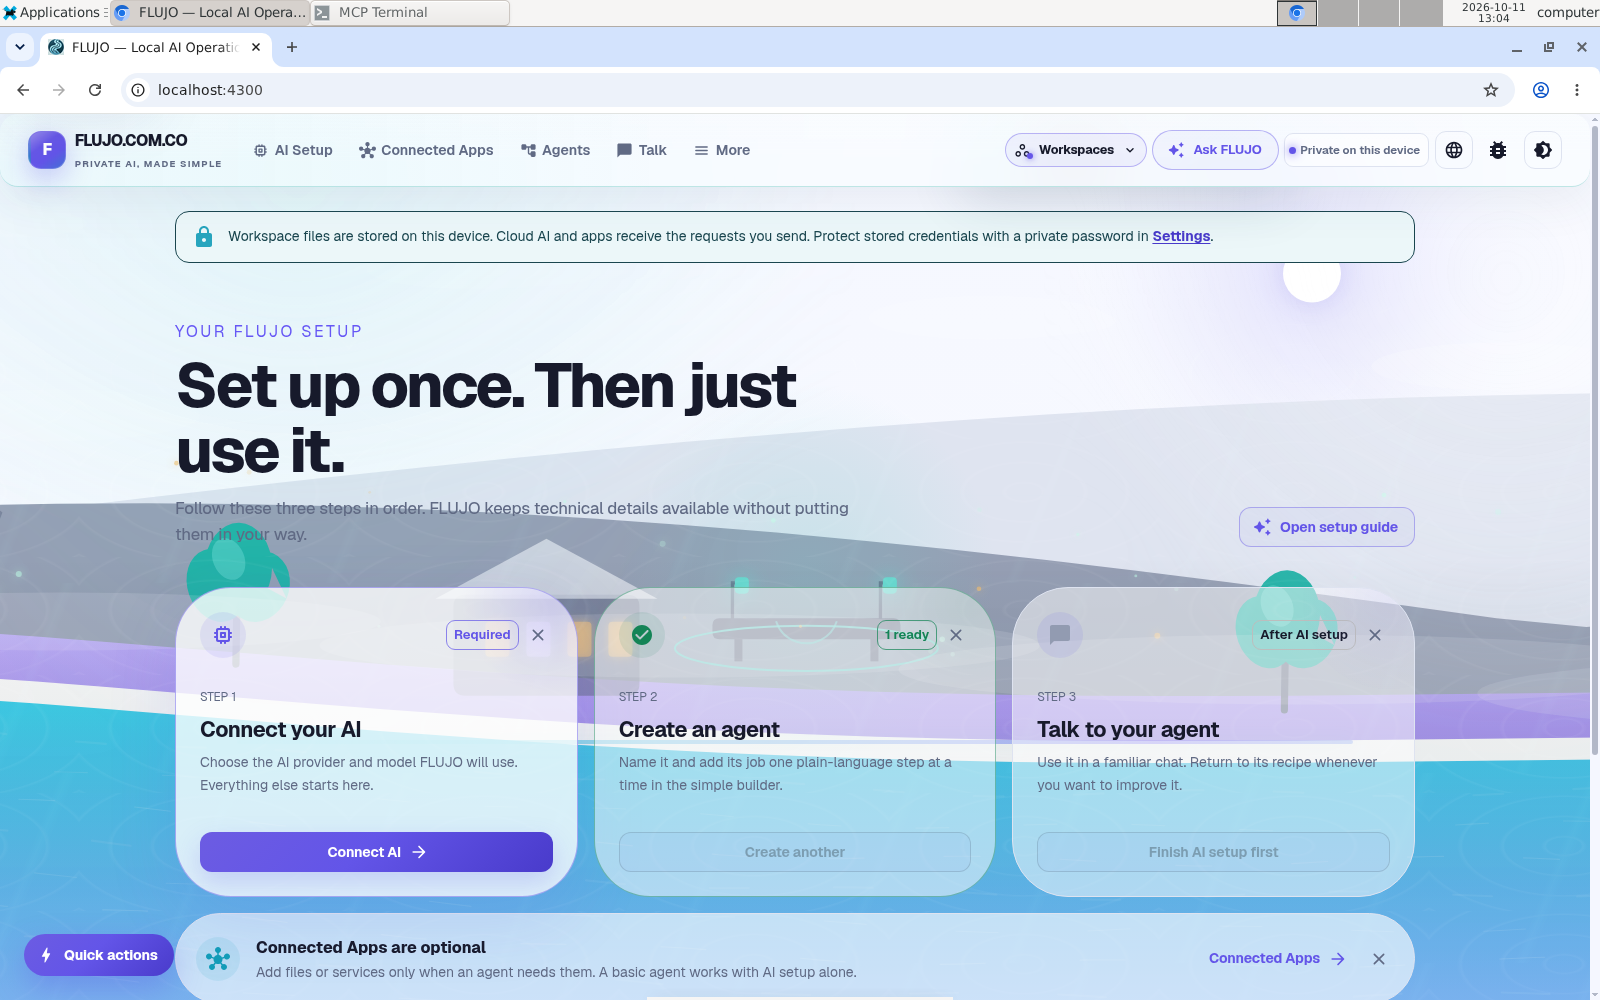
A later terminal receipt re-displays the actual installation log, installed version, and startup address. This separate installation used a new package folder and fresh app data, with existing download cache available.Full-size image ↗The browser opens successfully on the temporary port. The recorded guides use an existing session at localhost:4200.Full-size image ↗Linux/macOS setup, source installation, and Docker
The one-line installers set up a source checkout. They follow the main development branch by default, which can be ahead of published releases. Read the script and setup notes before running it.
Docker Compose builds the source in your checkout. Follow the Docker guide for ports, persistent data, and updates. For manual source setup, use the source installation guide.
Open localhost:4200. If it opened automatically, use that tab. Keep the terminal or server running while you work, including for scheduled tasks.
If FLUJO is already running on that port, return to the existing instance. A new workspace can keep this website example separate from your other projects.
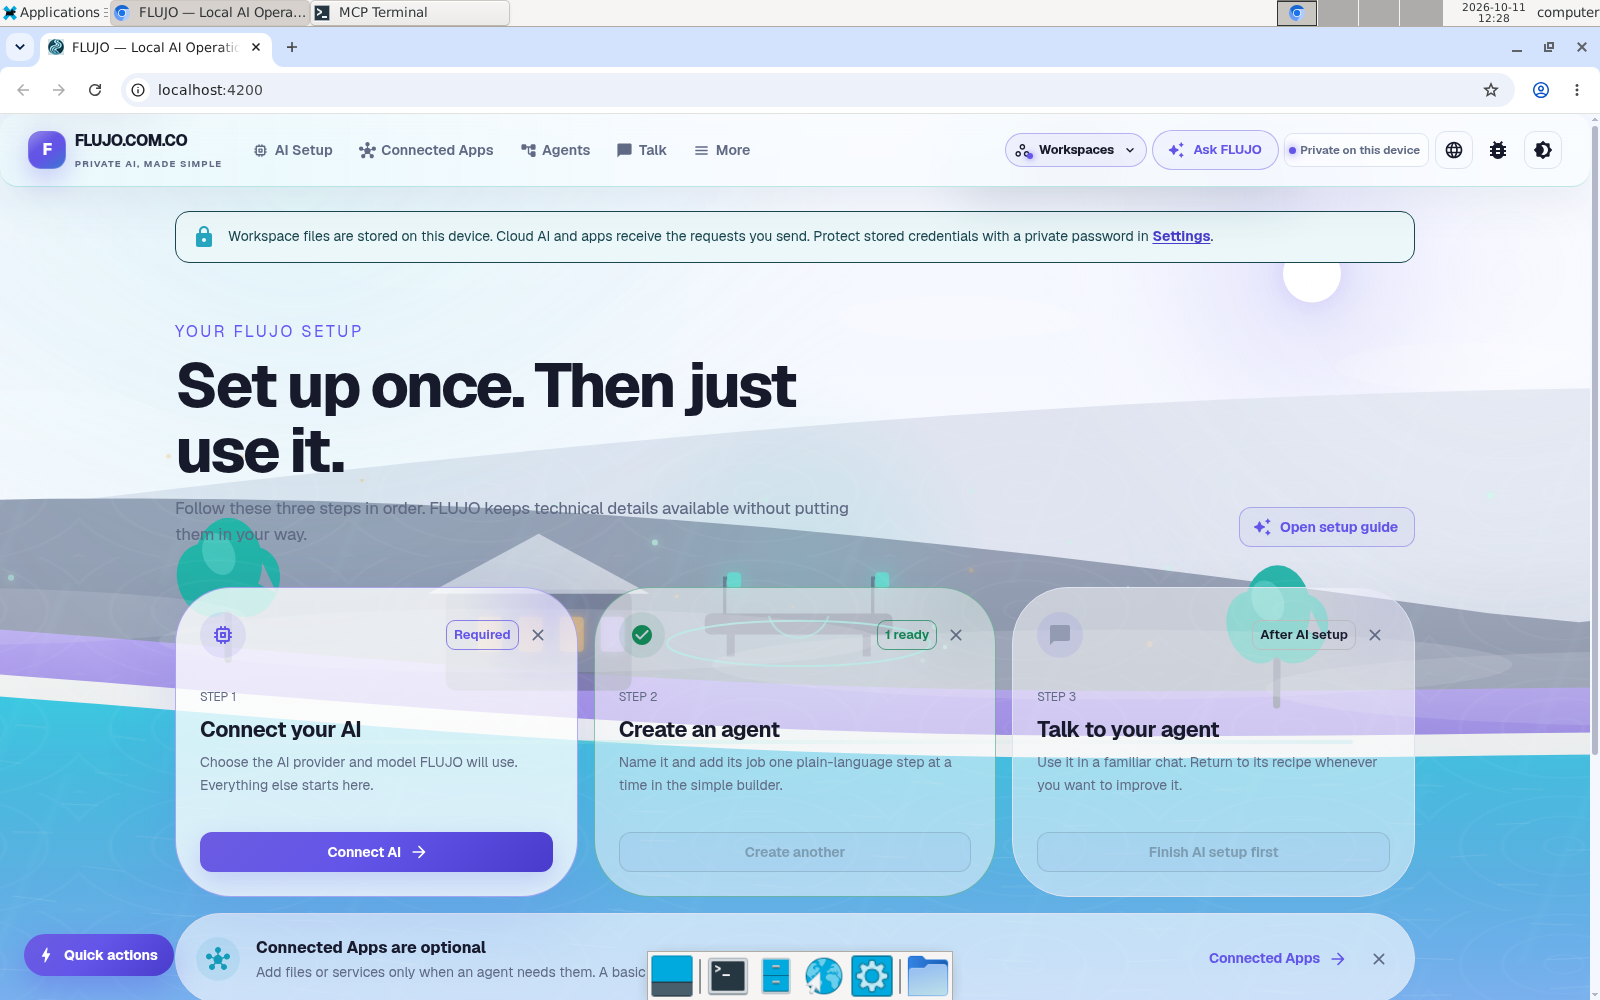
FLUJO open after installation. The recorded example uses the published npm package 3.46.2 on Linux; the website’s source version is tracked separately.Full-size image ↗
03 · Connect one AI
Bring the AI you want to use.
Open AI Setup → Connect AI. Pick your provider and follow its connection steps.
Cloud API: supply the provider’s key and choose a model your account can access.
Supported subscription: complete its required login on the computer and operating-system account running FLUJO.
Local Ollama: start Ollama and download a model first.
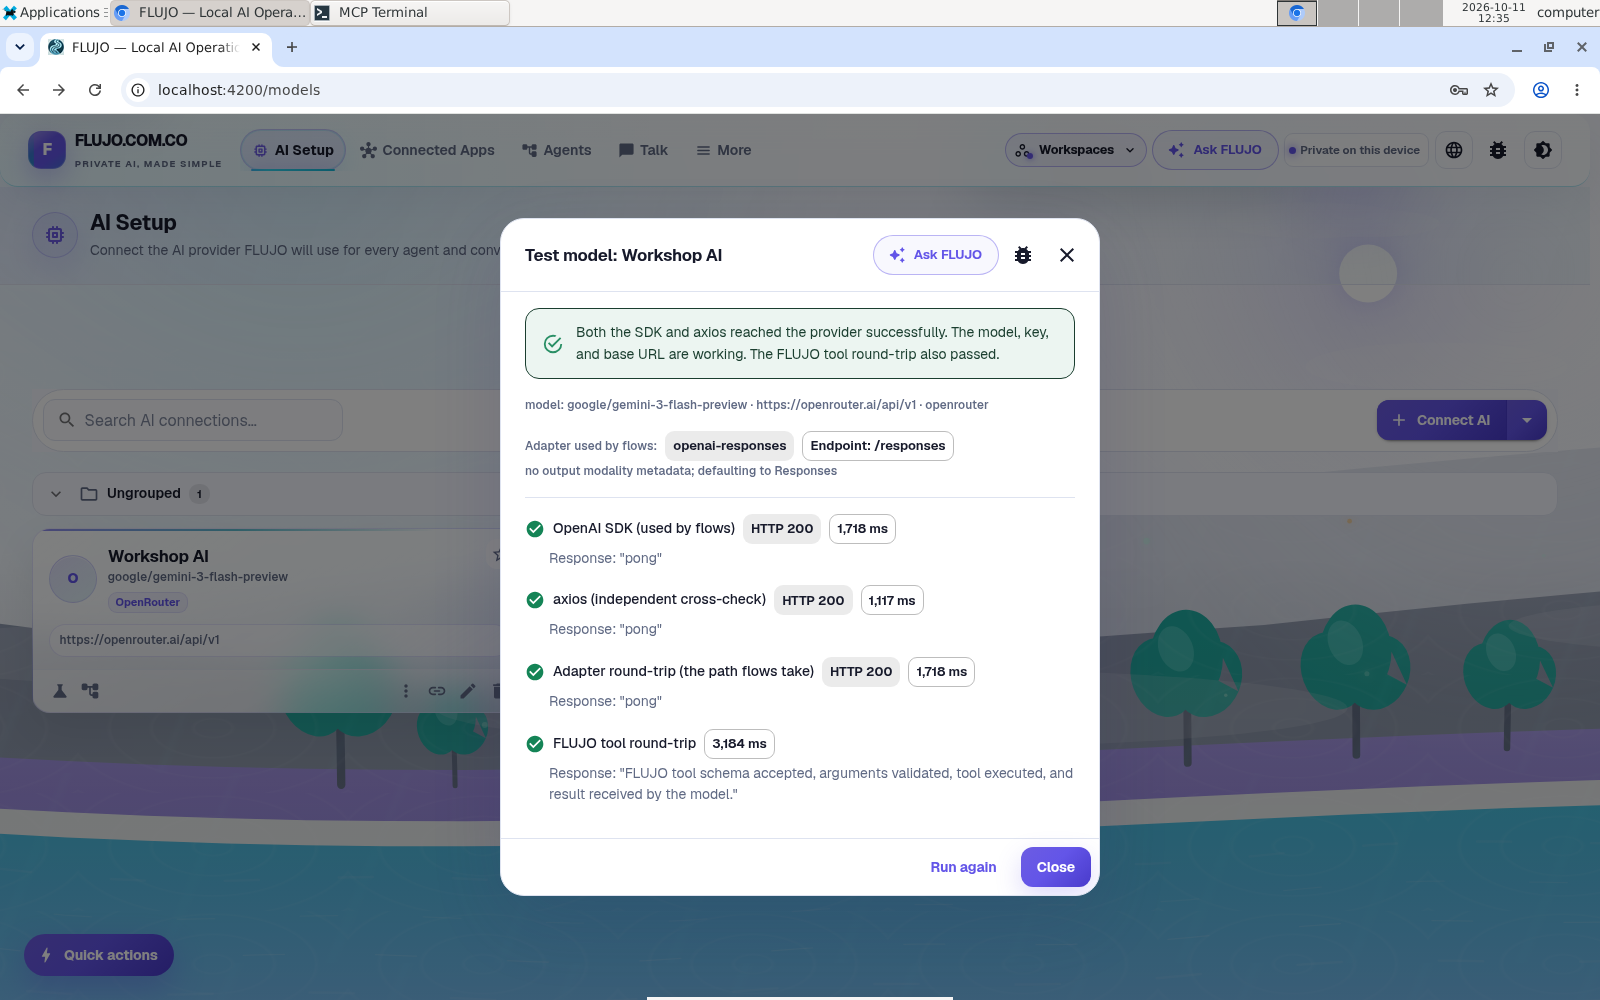
Save, then choose Test model on the connection’s card. Continue after a successful result. A saved connection alone does not prove your access works.
The Workshop AI connection passes its test. This recording uses Gemini through OpenRouter; use a supported model you have access to.Full-size image ↗
A few choices to make
Your setup. Clear expectations.
AI access is separate. FLUJO is MIT-licensed software. It does not include a provider plan. Cloud calls—including tests and scheduled runs—may use quota or incur charges. Local models use your hardware.
Local storage, chosen connections. Your workspace is stored on your computer. Cloud providers receive the prompts and context you send; connected services receive the requests they need.
Set your privacy preferences. In Settings, choose a private encryption password for stored credentials. The public default is not a private vault. Anonymous daily usage sharing is on by default and can be changed in Privacy & Usage.
Keep the default local boundary. FLUJO’s default local profile has no owner login. Workspaces organize projects rather than separate users. Keep Network access on Localhost unless you have deliberately set up the required access controls.
Check that the terminal says FLUJO is running, then open localhost:4200. Keep the server open. If the port is already in use, find the existing FLUJO instance before starting another one.
The AI connection test fails
Edit the connection and check the key or login, selected model, and available allowance. For a local model, check that Ollama is running and the model is downloaded. A login on another computer does not authenticate the server running FLUJO. Read the connection guide.
A connected app won’t install or run
Read its installation or startup error. Check the required runtime and command on the machine running FLUJO. Test the tool directly before adding it to your assistant; don’t repeatedly reinstall it without checking the error. More recovery help.
Save a builder. Bring a brief.
Connect file tools, save a reusable Website Builder agent, and check the site it makes from your chat brief.
 FLUJO
FLUJO